
Creating and saving projects
Save your work as a .psl project file.
Prerequisite: A project folder you have permission to write to.
Step-by-step instructions
Start a new project using File > New. Save any changes to your current project first.
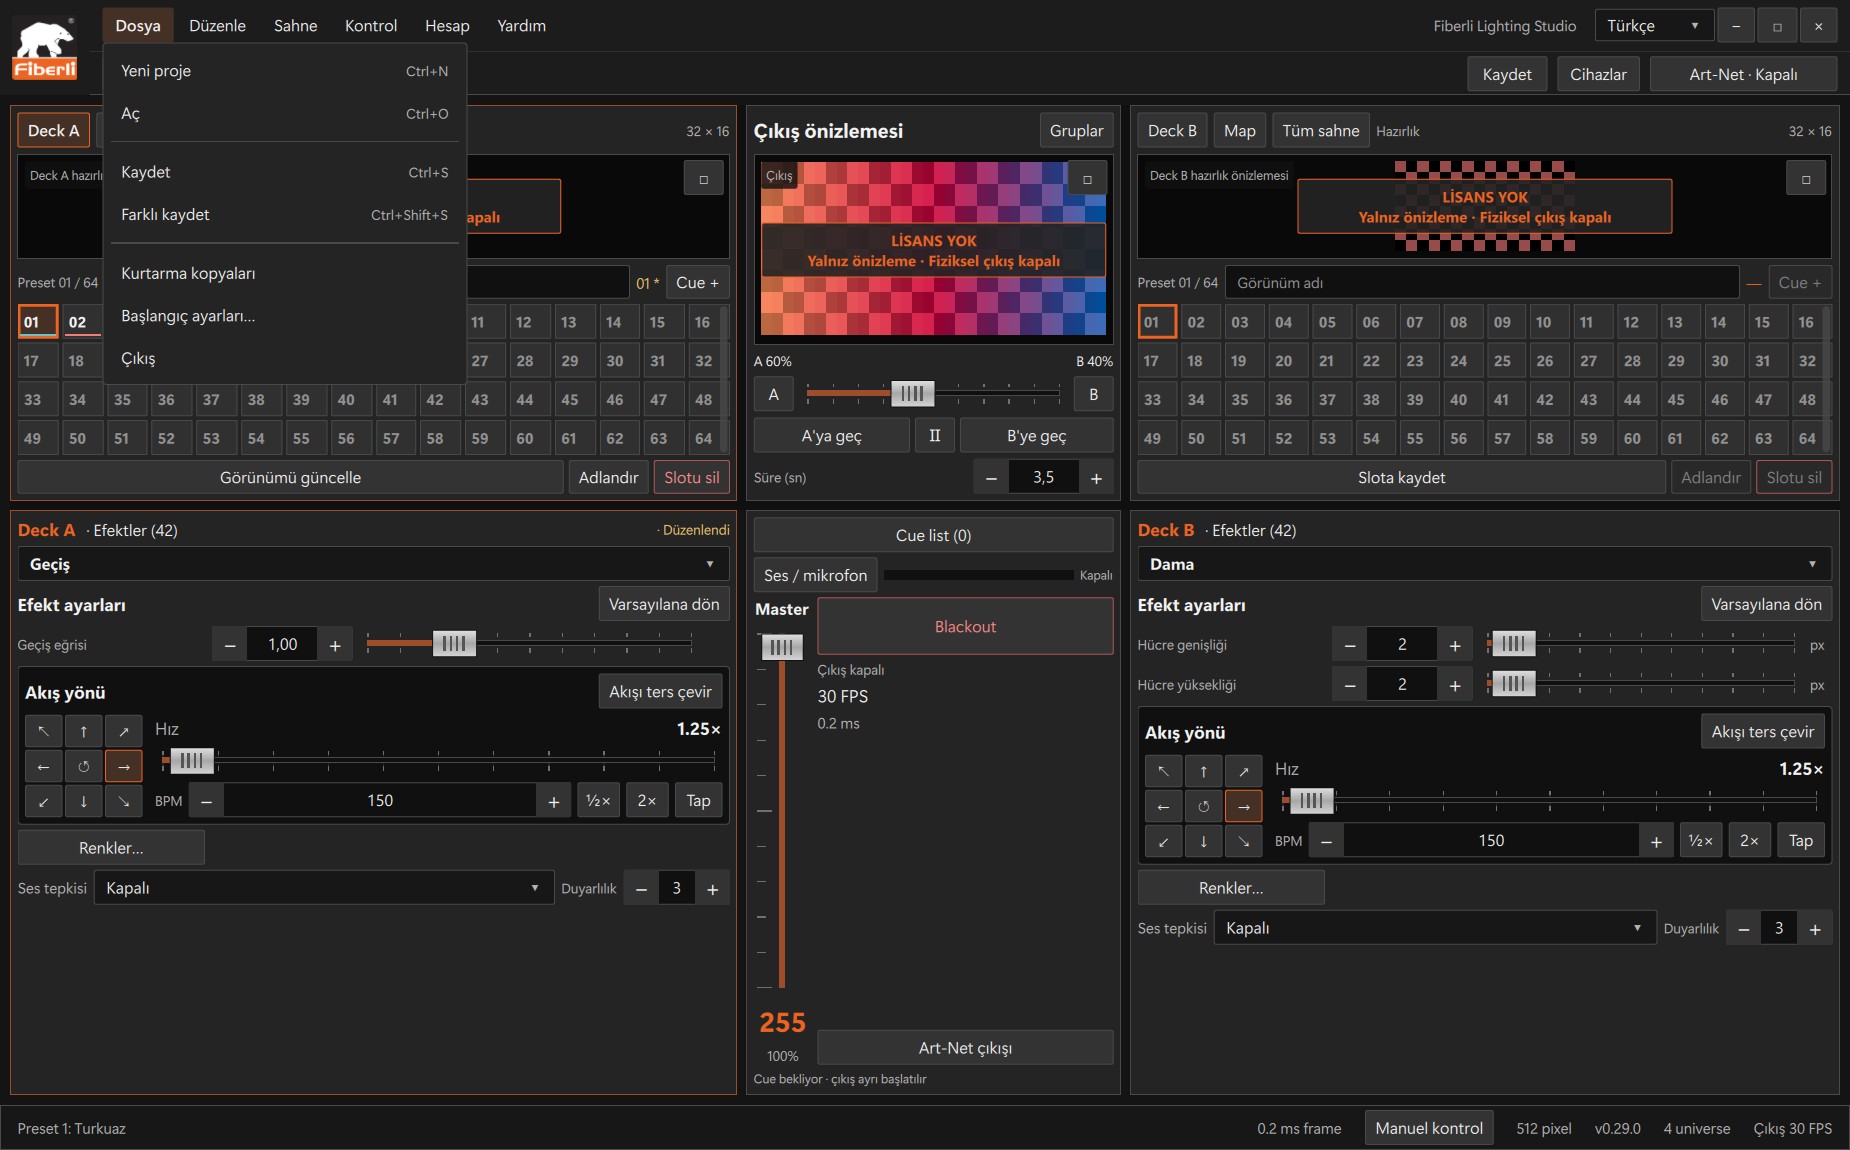
File menu: New, Open, Save, Save As and startup settings. Open the image to view it at full size. Review the starter layout in the new project and edit it in Patch to match your installation.
Use File > Save As to choose your project folder and enter a name, such as Egitim-01.psl.
After making changes, use Ctrl+S or the Save button at the top. Saving a look to a slot and saving the project file to disk are separate actions.
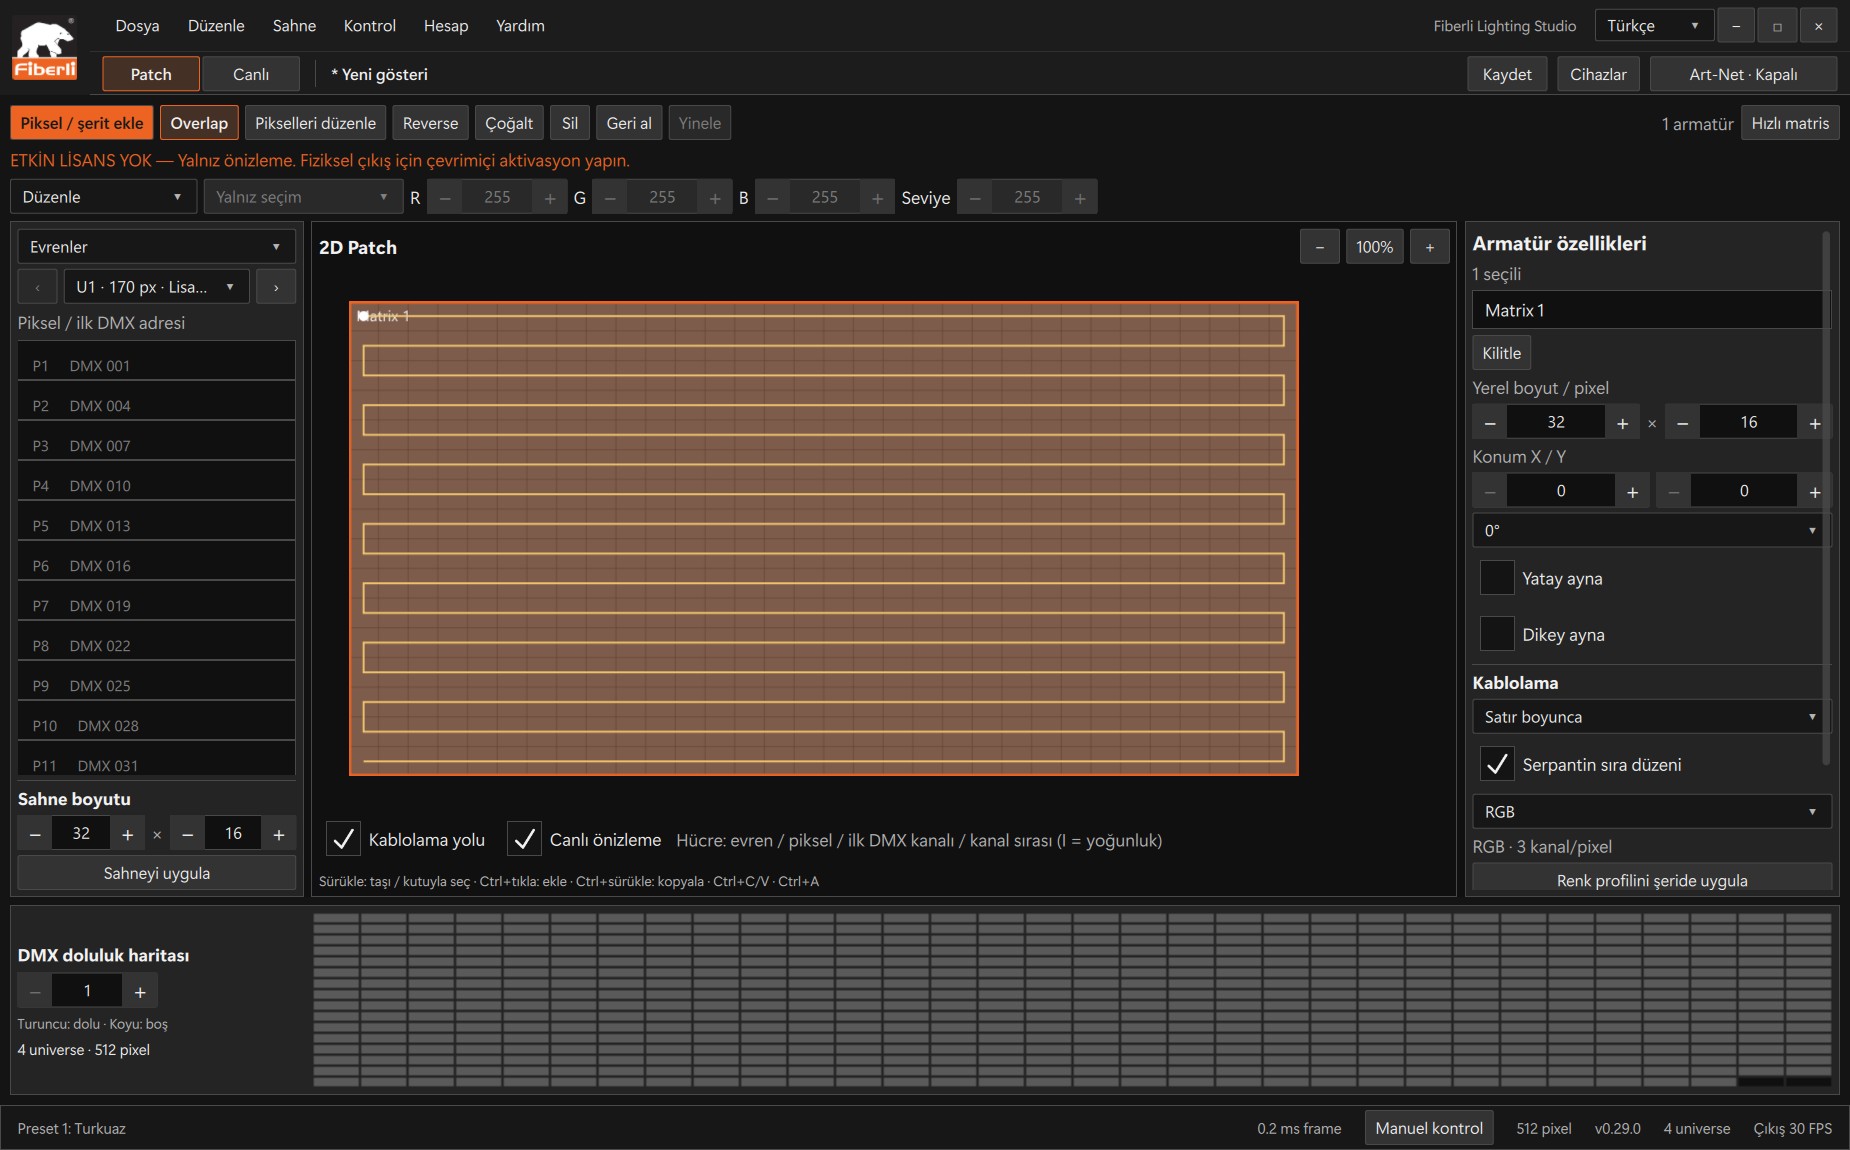
Patch workspace: fixture properties, pixel layout and DMX channel occupancy. Open the image to view it at full size. Use File > Open to reopen the saved .psl file. Check that the layout and slots are restored. Keep image, video and audio files in the project folder too.
Expected result
You have a named .psl file and a project you can reopen.
Common mistakes and things to check
Do not use the recovery copy as a substitute for regular saves. Projects saved with new features may not open in older Studio versions.
These are screenshots of the actual application. Images are from Windows Studio 0.29.0; the Help screen is from 0.30.1. The screenshots show the Turkish interface. Physical output is disabled in the examples.